DRAFT / ENGINE VALIDATION PENDING
Import a spritesheet into Godot
A walkthrough based on the current export implementation. This is not yet a verified import tutorial.
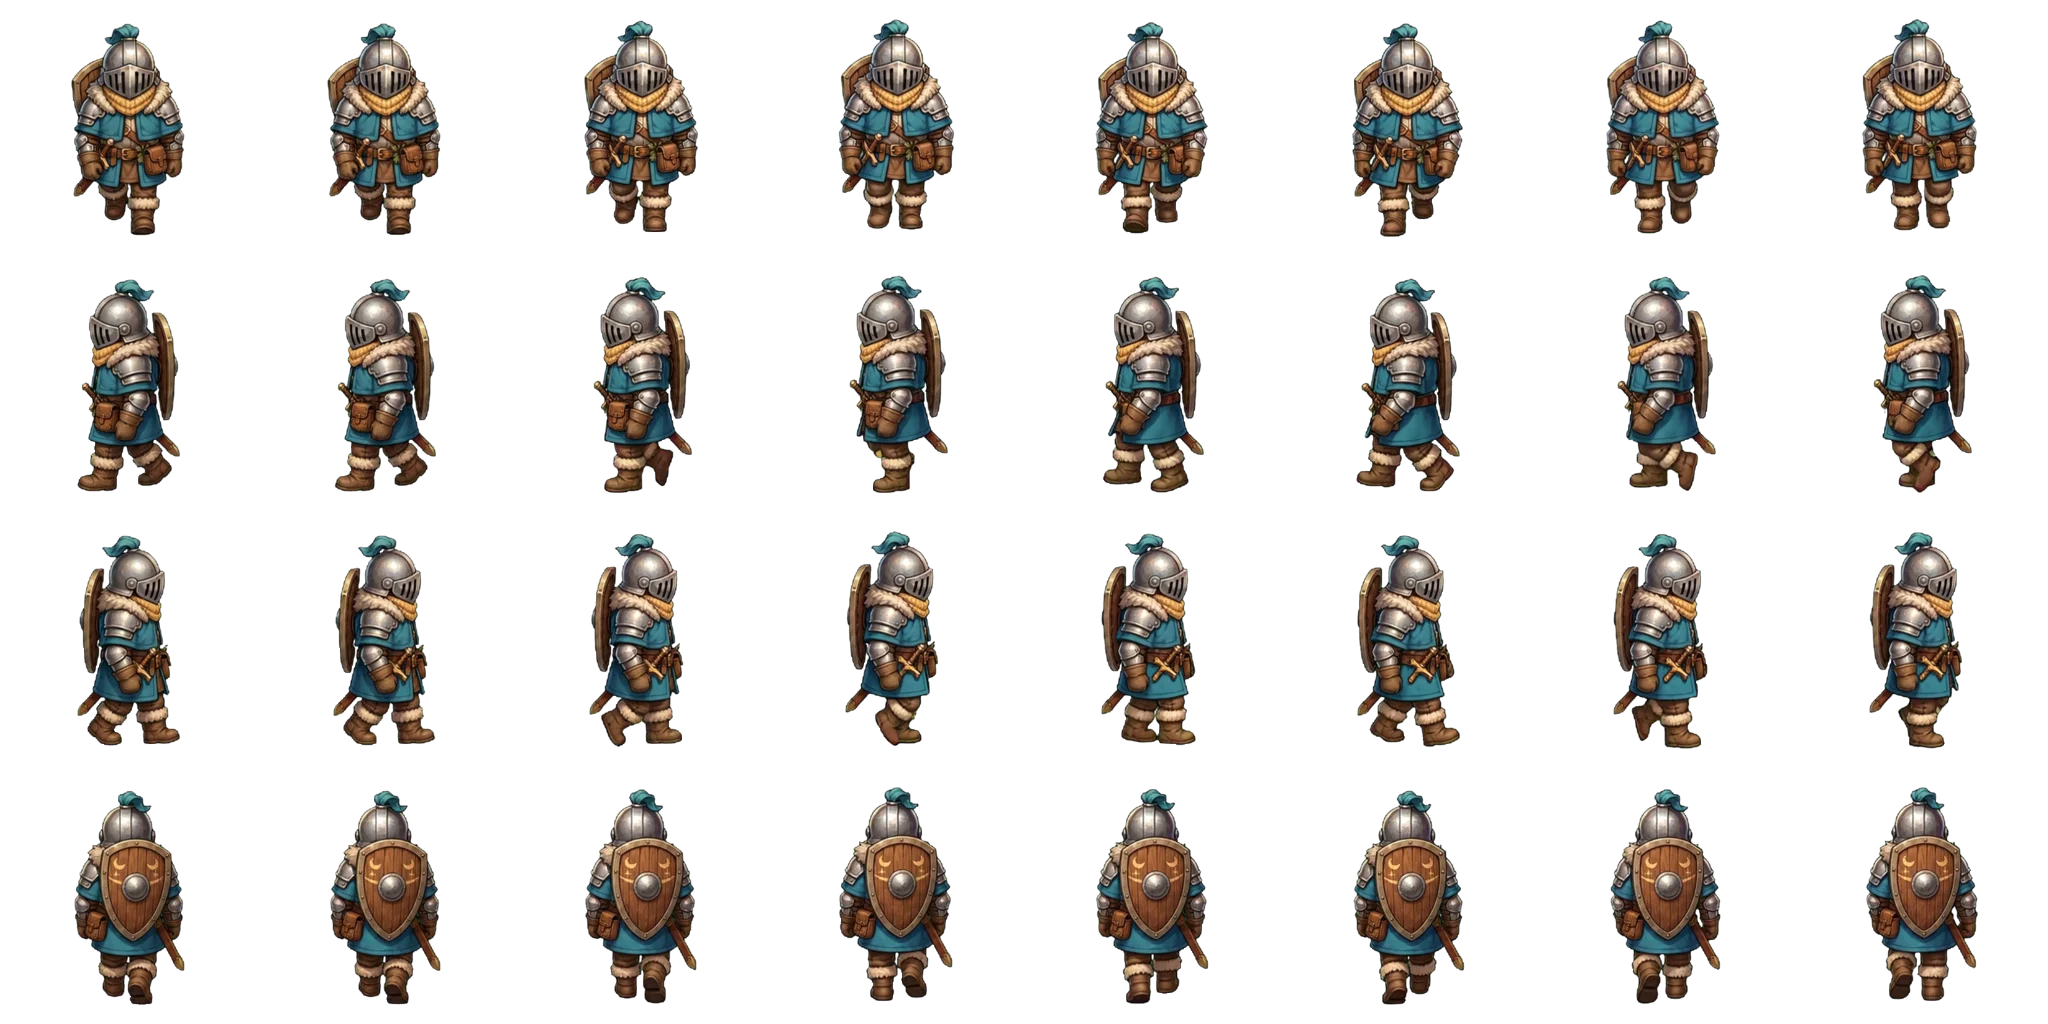
Start with the real source files
The portable example includes atlas.png and spritesheet.json. Its atlas is 2048 × 1024 pixels, containing 4 rows of 8 cells. Each cell is 256 × 256 pixels.
1. Create your character
Choose a top-down game context, a style, and four walking directions. Keep the character description focused on silhouette, clothing, and colors.
2. Review the movement
Preview each direction in the app. Check foot placement and the transition between the last and first frames.
3. Choose your package
Godot exports are intended to include the PNG, JSON, and a SpriteFrames resource. The current resource needs correction before direct import can be recommended.
4. Validate in your project
Test frame textures, scale, timing, and direction changes in your own scene. Do not rely on a still atlas alone as proof that the animation imports correctly.
Files to check in the engine export
- atlas.png — transparent character atlas
- spritesheet.json — frame and animation data
- spritesheet.tres — generated SpriteFrames resource (validation blocked)
Before calling the import successful
Check that every direction contains non-empty textures, play a complete loop, and switch directions at gameplay scale. A file that loads without crashing is not enough: the Godot test found a resource that loaded but contained zero usable frames.