DRAFT / ENGINE VALIDATION PENDING
Import a spritesheet into RPG Maker MZ / MV
A walkthrough based on the current export implementation. This is not yet a verified import tutorial.
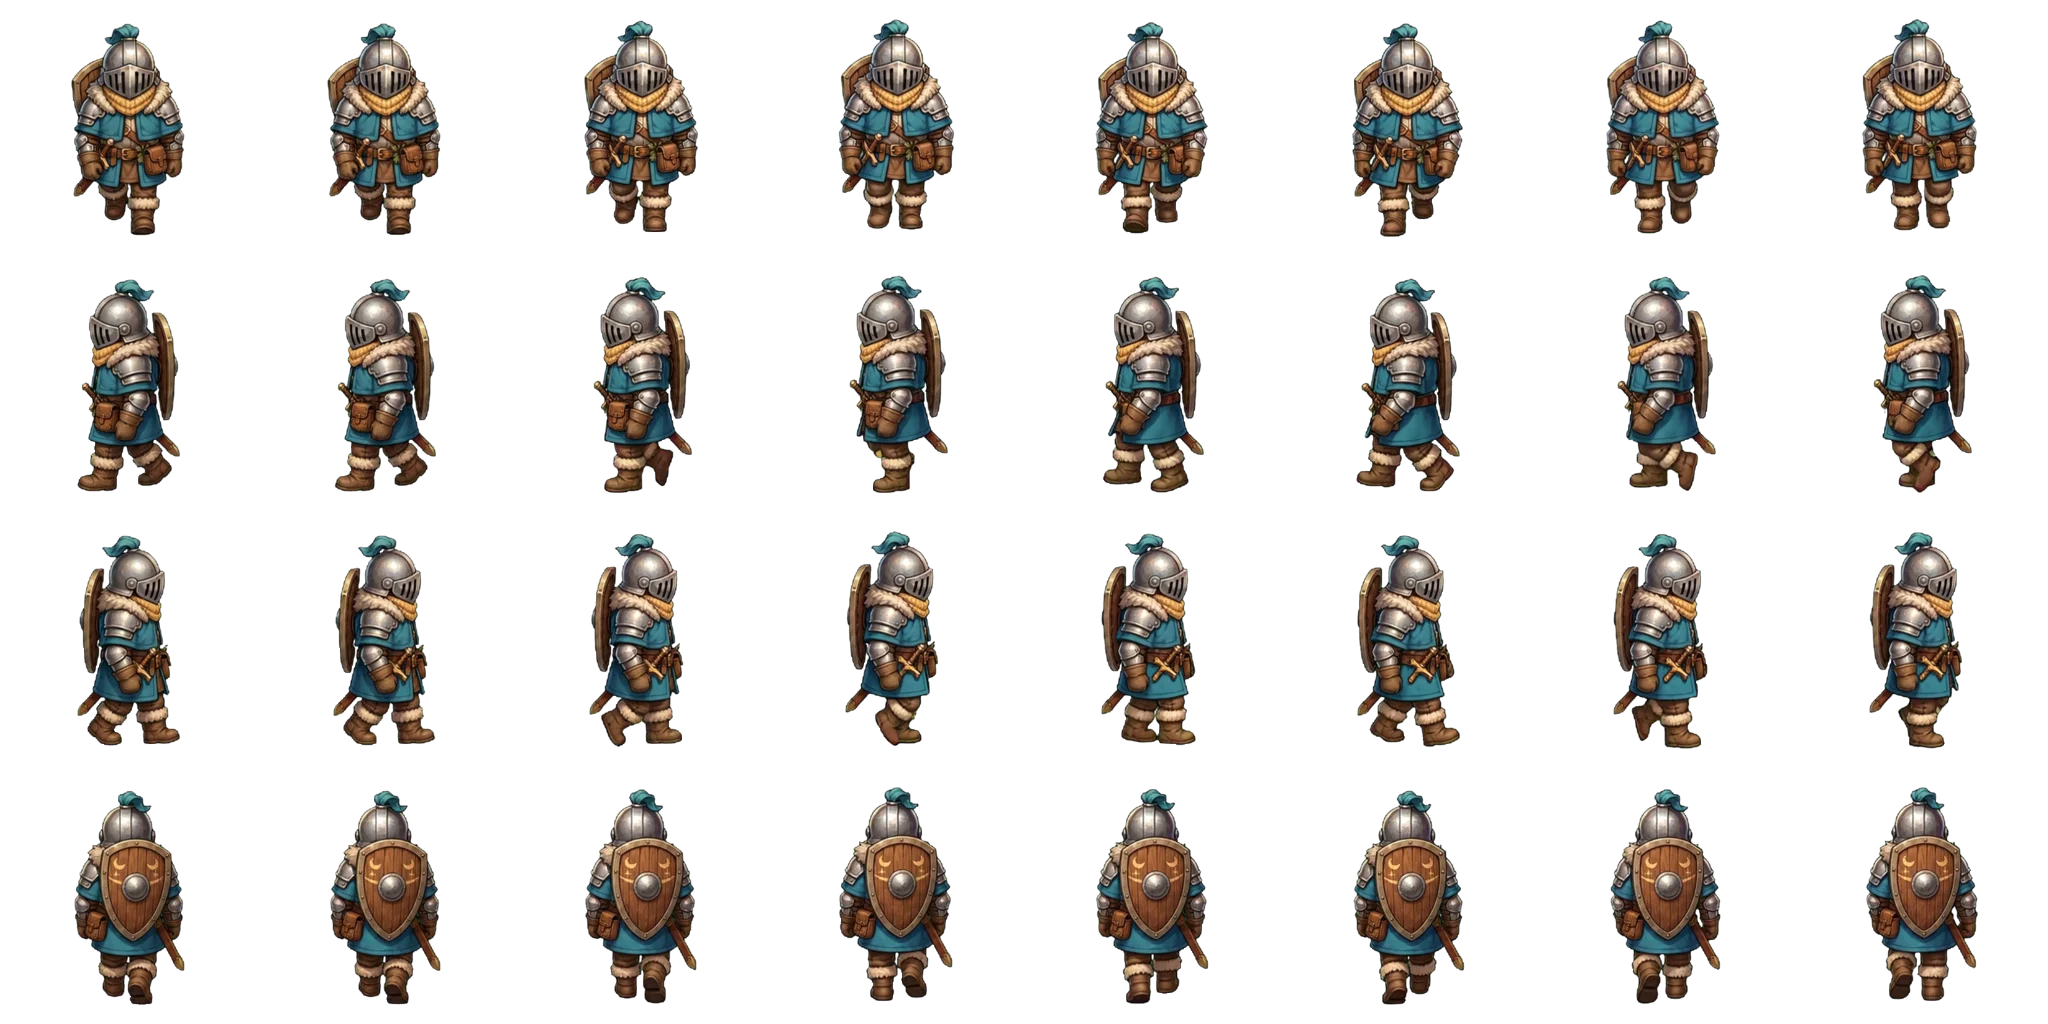
Start with the real source files
The portable example includes atlas.png and spritesheet.json. Its atlas is 2048 × 1024 pixels, containing 4 rows of 8 cells. Each cell is 256 × 256 pixels.
1. Choose four walking directions
The MZ export requires down, left, right, and up tracks. Start with one walking action across those four directions.
2. Review all four tracks
Check the character from each direction in the app. The sample shown here has eight frames in each of its four rows.
3. Export for RPG Maker MZ
Choose the MZ format and keep its default three frames per direction. The standard path uses a single-character image named $character.png.
4. Test the character in MZ
Import into a test project, check the character selection, and walk in each direction. Editor validation is still required before this workflow is marked ready.
Files to check in the engine export
- $character.png — standard single-character atlas
- spritesheet.json — animation metadata
- rpg-maker-import.json — standard-layout information
Before calling the import successful
Check that every direction contains non-empty textures, play a complete loop, and switch directions at gameplay scale. A file that loads without crashing is not enough: the Godot test found a resource that loaded but contained zero usable frames.
Explore the RPG Maker MZ / MV generator →
Create your own character